What Causes Etching on Glass: A Property Owner’s Guide
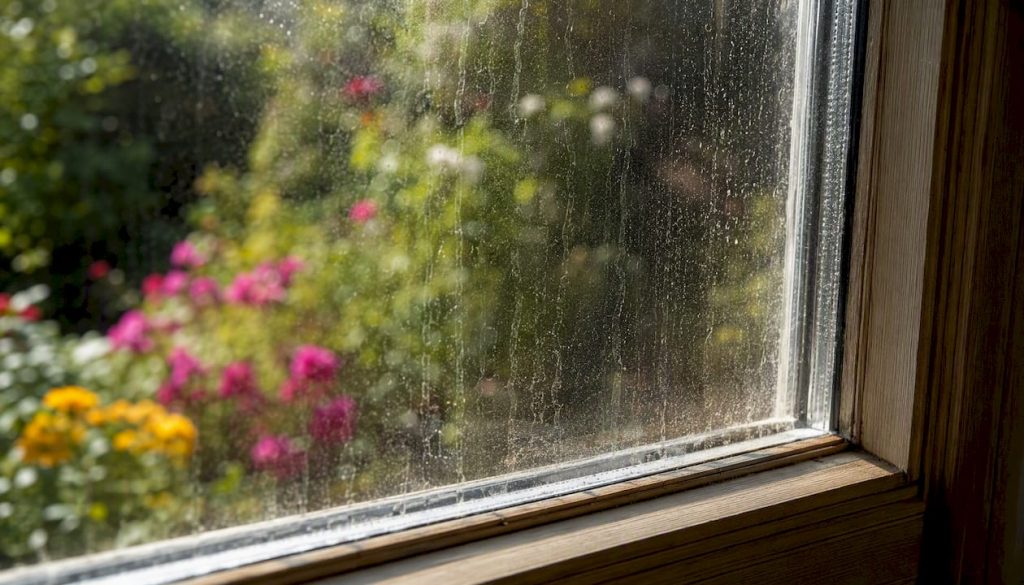
Etching on architectural and window glass is caused by mineral corrosion, primarily from calcium, magnesium, and silica deposits left behind by hard water, irrigation overspray, or alkaline runoff. Once those minerals bond chemically with the silicate surface, the damage is often permanent. Here’s how to act fast:
- Quick test: Dab a small amount of white vinegar on the hazy area. If the cloudiness lifts, you likely have a removable mineral deposit. No change means the glass surface itself has been altered.
- Short-term protection: Stop using hard tap water to rinse the glass. Redirect any sprinklers hitting the pane and dry the surface after rain or irrigation contact.
- Call a pro: If the vinegar test changes nothing, or if the glass is Low-E, tempered, or laminated, schedule a professional inspection before attempting any further cleaning.
Key Takeaways
Etching on window glass is caused by mineral corrosion from hard water and related chemical attack, and the earlier it’s caught, the more options you have for restoration rather than replacement.
| Point | Details |
|---|---|
| Mineral corrosion is the main cause | Calcium, magnesium, and silica from hard water chemically bond with glass and alter its surface permanently. |
| Vinegar test triage | If a vinegar patch lifts the haze, it’s a removable deposit; no change means true etching and DIY should stop. |
| Three damage stages | Surface deposits respond to cleaning; partial etching needs polishing; severe corrosion requires replacement. |
| Prevention cuts risk sharply | Redirecting sprinklers, squeegeeing shower glass, and scheduling regular cleanings prevent most etching. |
| E and R Cleaning Solutions | Provides inspection, test-clean, polishing, and replacement coordination with written estimates and photo documentation. |
Table of Contents
- How do you tell removable hard-water film from true glass etching?
- What physically causes etching on window and architectural glass?
- Why etching changes glass optics and often can’t be cleaned away
- What can cleaning, polishing, and professional restoration actually fix?
- When should you call a professional for etched glass?
- Practical prevention steps that actually reduce etching risk
- Safe DIY actions and dangerous practices to avoid
- What does professional glass restoration typically cost and how long does it take?
- The cost of waiting is almost always higher than the cost of acting
- E and R Cleaning Solutions handles glass etching from inspection to restoration
- Sources
How do you tell removable hard-water film from true glass etching?
The distinction matters because the wrong cleaning attempt can make things worse. A removable mineral deposit sits on top of the glass surface. True etching means the surface itself has been chemically altered at a microscopic level.
Start with a visual check in direct sunlight or with a flashlight held at a low angle. A removable film often looks white or chalky and shifts slightly as the light angle changes. Etched glass looks dull or frosted and that appearance stays consistent regardless of angle.
Next, run a clean fingertip across the area. A deposit usually feels slightly rough or gritty. Etched glass feels smooth but looks hazy, because the damage is in the surface, not sitting on it.
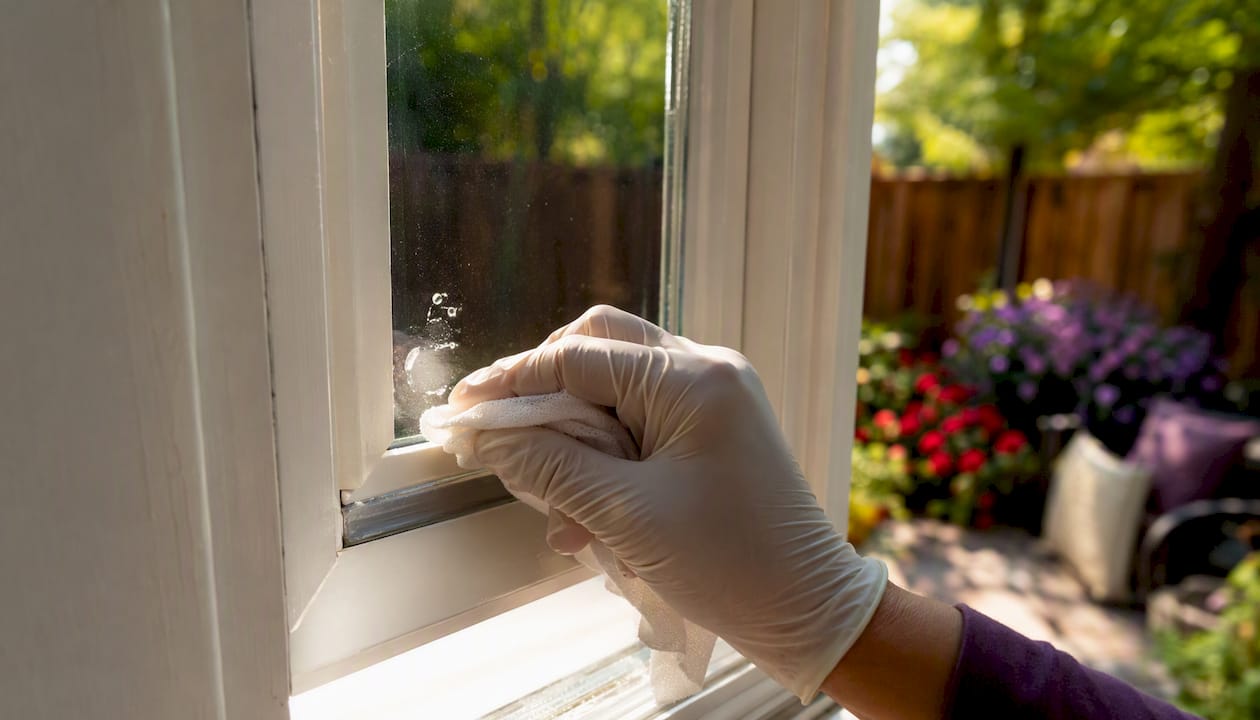
The vinegar spot test is the most reliable quick triage: apply a small amount of undiluted white vinegar to a hidden corner, wait two minutes, then wipe clean. Lifted haze points to carbonate deposits that a professional can address. No change confirms etching.
Pro Tip: Always test a small, inconspicuous area first. If the glass has a Low-E coating or factory tint, even mild acids can damage the coating permanently. When in doubt, stop and call a professional before the test becomes the problem.
One common pitfall: scrubbing with a dry cloth or abrasive pad before testing. That can scratch the surface and create a new problem on top of the original one, making it harder for a professional to assess what they’re actually dealing with.
What physically causes etching on window and architectural glass?
Calcium, magnesium, silica, and alkaline residues are the primary drivers. Hard water deposits calcium carbonate and magnesium carbonate on the glass surface. When those deposits are left to dry repeatedly, they begin a slow chemical reaction with the silica in the glass itself. Silica-based minerals from irrigation water or construction runoff accelerate that process significantly.
The USGS classifies water as “hard” above 120 mg/L of calcium carbonate and “very hard” above 180 mg/L. Many U.S. municipal water systems routinely exceed 200 mg/L, particularly in the Southwest, Midwest, and parts of the South.
Common sources that drive etching on exterior and interior glazing:
- Irrigation overspray: Sprinkler heads aimed too close to windows deposit mineral-rich water repeatedly across the same pane, concentrating deposits with every dry cycle.
- Post-construction alkaline runoff: Concrete, mortar, and stucco wash-off carries highly alkaline calcium hydroxide, which attacks glass aggressively. This is a common localized source on new builds and renovation sites.
- Pool splash and chemical drift: Pool water contains chlorine, pH adjusters, and dissolved minerals that can etch adjacent glazing over a season.
- Poor bathroom ventilation: Repeated hot showers with no exhaust fan create wet/dry cycles on shower glass that concentrate minerals fast.
- Sunlight and heat: South-facing glass and sun-exposed panes show the worst damage because heat accelerates mineral bonding and evaporation concentrates deposits.
Why etching changes glass optics and often can’t be cleaned away
Etching permanently alters the silicate matrix at the glass surface. The microscopic flatness that gives glass its clarity is disrupted by micro-pitting and silica reactions, causing light to scatter rather than pass through cleanly. That scattering is what you see as haze or frosting.
A standard cleaning removes material sitting on the surface. Etching removes material from the surface. No cleaner can restore what’s been chemically dissolved. Heat and sunlight speed up this bonding process, which is why etching can appear within 12–18 months in high-exposure situations.
Pro Tip: Partial improvement is realistic for mild to moderate etching. Full optical restoration to factory clarity is rarely achievable without professional polishing, and even then, severe corrosion may require replacement. Set that expectation before any work begins.
What can cleaning, polishing, and professional restoration actually fix?
The answer depends entirely on which stage the damage has reached. Professional window-care guidance classifies mineral damage into three stages, and the right response differs at each.

| Stage | Is it removable? | Repair option | Time to fix | Risk to glass |
|---|---|---|---|---|
| Stage 1: Surface deposits | Yes | Professional cleaning, acid treatment for carbonates | Same day to 1 day | Low if done correctly |
| Stage 2: Partial etch | Partially | Cerium-oxide polishing, protective coating | 1–3 days depending on area | Moderate; thinning possible with over-polishing |
| Stage 3: Severe corrosion | No | Replacement | 1–3 weeks for ordering and install | N/A; glass is replaced |
Professional restoration for Stage 1 and Stage 2 typically follows this sequence:
- Test clean: A small patch is treated first to confirm the deposit type and assess response before full treatment.
- Acid soak for carbonates: Citric, acetic, or sulfamic acid dissolves calcium and magnesium carbonate deposits. Hydrofluoric acid is sometimes used in extreme cases but is a severe hazard requiring full PPE and is handled only by trained professionals.
- Cerium-oxide polishing: Applied wet with controlled tooling using fine polishing compounds in the recommended professional grit range, this is the accepted standard for reducing silica-based haze at Stage 2.
- Protective coating: A hydrophobic or nano-coating applied after restoration slows future mineral bonding.
Pro Tip: If your glass has a Low-E coating, do not allow acids or abrasive compounds near it without written confirmation from the professional that they’ve verified the coating type. Both acids and abrasives can strip Low-E coatings permanently, turning a restoration job into a replacement.
When should you call a professional for etched glass?
Call a professional if any of the following apply: the vinegar test produces no change, the glass is Low-E, tempered, or laminated, deposits keep returning despite regular cleaning, the affected glass is above ground floor, or you can see visible pitting or cratering in direct light.
A thorough professional inspection covers more than a visual check. The technician should verify the glass type before touching anything, because the treatment for standard float glass differs from what’s safe on coated or tempered panes. A test-clean patch on a small hidden area confirms the deposit stage and the likely outcome before any commitment is made. Photo documentation of the before state protects both parties and gives you a baseline for comparing results.
Expect a written quote that separates labor, materials, and any replacement coordination. If a contractor skips the test patch and quotes a full restoration on sight alone, that’s a red flag.
Practical prevention steps that actually reduce etching risk
Regular maintenance and a few targeted system fixes cut etching risk dramatically. The goal is to stop mineral-rich water from sitting on glass long enough to bond.
- Adjust sprinkler and irrigation heads so they don’t contact glazing directly.
- Use deionized or distilled water for final rinses after any exterior window cleaning.
- Install a point-of-use water softener or whole-house softening system in areas with hardness above 180 mg/L.
- Run bathroom exhaust fans during and after every shower; squeegee shower glass after each use to break the wet/dry cycle that drives rapid mineral buildup.
- Schedule professional cleanings at regular intervals rather than waiting for visible damage.
Pro Tip: In areas where municipal water exceeds 180 mg/L, schedule professional window cleaning every three to four months rather than annually. At that hardness level, annual cleaning often means you’re already managing Stage 2 damage rather than preventing it.
Safe DIY actions and dangerous practices to avoid
DIY is appropriate for one scenario only: confirmed surface deposits on standard uncoated glass. Once the vinegar test shows no response, stop.
For confirmed deposits, use a soft microfiber cloth, a diluted white vinegar solution, and a clean squeegee. Work in a shaded area so the solution doesn’t dry before you wipe it. For window cleaning solutions that are safe for home use, stick to pH-neutral or mildly acidic options designed for glass.
What to avoid: steel wool, abrasive scrubbing pads, razor blades dragged across the surface, and any product containing hydrofluoric acid. Hydrofluoric acid is a severe chemical hazard. Even diluted consumer products containing it require proper PPE, including nitrile gloves and eye protection, and should never be mixed with other cleaners. Aggressive scraping can also damage window seals and frames, creating a water intrusion problem on top of the surface damage.
What does professional glass restoration typically cost and how long does it take?
Costs and timelines vary by damage stage, glass type, access difficulty, and regional labor rates. An inspection and test clean give you the only reliable estimate. Here’s a general timeline for typical jobs:
- Inspection and test clean: Usually completed the same day as the initial visit.
- Stage 1 cleaning and acid treatment: One day for most residential jobs; larger commercial properties may run two days.
- Stage 2 cerium-oxide polishing: One to three days depending on the total glass area and access requirements.
- Stage 3 replacement: One to three weeks from order to install, depending on glass type, custom sizing, and glazing specifications.
Always request an itemized written quote and ask for photo documentation of the test patch result. A quote without a test patch is a guess, not an estimate.
The cost of waiting is almost always higher than the cost of acting
The pattern that shows up repeatedly in field work is this: a property owner notices haze on a window, assumes it’s dirt, and defers the call. Six months later, what was a cleaning job has become a polishing job. Another year after that, it’s a replacement. Each stage costs more than the one before it, and the jump from polishing to replacement is not incremental.
One job that sticks out involved a commercial property manager who called after a new tenant complained about cloudy storefront glass. The glass had been exposed to irrigation overspray for two seasons. A test patch confirmed Stage 2 damage. Had the call come a season earlier, a standard cleaning would have handled it entirely.
Early intervention is not just cheaper. It keeps the decision in your hands rather than forcing a capital expense on a timeline you didn’t choose.
E and R Cleaning Solutions handles glass etching from inspection to restoration
Hard-water marks and etched windows don’t fix themselves, and the wrong DIY attempt can push a restorable pane into replacement territory. E and R Cleaning Solutions offers professional inspection, hard-water stain removal, cerium-oxide polishing for Stage 2 damage, and glass replacement coordination for cases where restoration isn’t enough. Every job starts with a safety assessment, glass-type verification, a documented test patch, and a written estimate that tells you exactly what’s achievable.

For property managers and commercial owners, specialized commercial window cleaning requires a different approach than residential work, and E and R Cleaning Solutions brings that distinction to every quote. Transparent pricing, before-and-after photo documentation, and no pressure to proceed beyond what the test patch supports. Book your inspection today and know exactly what you’re working with before committing to any repair.
Sources
- USGS Water Science School — hardness of water
- Hard Water Stain Removal from Windows | National Window Cleaning Authority
- Hard Water Etching: How Tap Water Rinsing Can Permanently Damage Glass
- How To: Remove Hard Water Etching from Glass – GlassRenu
- Hard Water Stains on Shower Glass: Safe Removal Tips