
90% of Window Issues Solved by This Interior Window Cleaning Routine
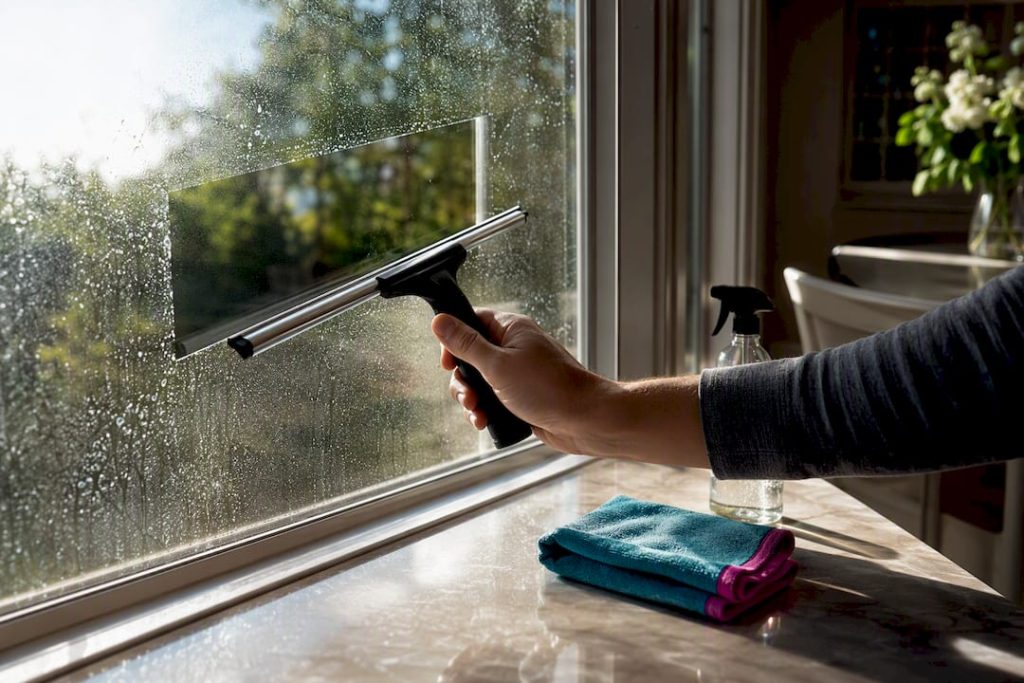
The most reliable method is a diluted vinegar solution or a few drops of dish soap in water, applied with a lint-free microfiber cloth, then finished with a squeegee and a dry buff. Do this regularly with periodic spot checks in kitchens and bathrooms, and glass stays clear far longer. This simple combination can outperform most bottled glass cleaners on the market.
TL;DR:
- Regular use of vinegar solutions and microfiber cloths can outperform most bottled glass cleaners and prevent streaks when cleaning interior windows.
- Proper prep, such as vacuuming tracks and wiping frames, along with targeted techniques like spraying cloths and squeegeeing in one direction, is essential for streak-free results.
- Avoid over-wetting windows, using paper towels, or neglecting frames and sills, as these mistakes lead to streaks, mold, or visual clutter.
- Grease, hard-water stains, and paint flecks require specific removers like rubbing alcohol or vinegar poultices, with etching being a permanent damage if left untreated.
- Cleaning windows twice a year plus monthly spot checks in high-use areas effectively maintains clarity, especially when combined with eco-friendly, homemade methods.
Table of Contents
- What Tools and DIY Solutions Work Best for Interior Window Cleaning?
- How Do You Clean Interior Windows Step by Step?
- How Do You Clean Window Frames, Tracks, and Screens Without Damage?
- How Do You Remove Stubborn Marks and Hard-Water Stains From Glass?
- How Often Should You Clean Interior Windows?
- What Do Pros Notice That Homeowners Miss?
- Are Eco-Friendly Window Cleaning Methods Worth Using?
- A Note From Richard at E and R Cleaning Solutions
- When It’s Time to Call E and R Cleaning Solutions
- Sources
What Tools and DIY Solutions Work Best for Interior Window Cleaning?
You don’t need a truck full of gear. A short list covers almost every job: two or three lint-free microfiber cloths (look for a tight weave, not the fluffy kind sold for dusting), a rubber-bladed squeegee sized to your window width, a spray bottle, a small bucket, and a stiff-bristled detail brush or old toothbrush for tracks and corners.
For the solution itself, Pella recommends 1 part distilled white vinegar to 10 parts warm water as a basic, ammonia-free cleaner that won’t damage coated glass. For greasy kitchen windows, add just a drop or two of mild dish soap, and use straight rubbing alcohol on a cloth for isolated sticky spots. Skip ammonia entirely on low-E or coated glass. It can strip protective films and leave a cloudy residue that’s hard to reverse.
- Microfiber cloths (2 to 3), tight weave
- Squeegee sized to window width
- Spray bottle and small bucket
- Detail brush or toothbrush for tracks
- Distilled white vinegar and mild dish soap
Pro Tip: Work in a room with the window cracked or a fan running when you use rubbing alcohol. The fumes aren’t dangerous in small amounts, but good airflow keeps things comfortable and speeds drying.
How Do You Clean Interior Windows Step by Step?
Start with prep, because skipped prep is the number one reason DIY jobs streak. Clear the sill of plants and knickknacks, vacuum the tracks with a brush attachment, and wipe down the frame with a dry cloth to knock off loose dust before any liquid touches the glass.
- Spray the cloth, not the glass. This single habit prevents overspray from dripping onto frames and sills, which cuts cleanup time and reduces streak risk.
- Wipe top to bottom in a zig-zag pattern. Work from one corner across, dropping down slightly with each pass, so you cover the full pane without missing sections.
- Squeegee in one direction. Pull the blade top to bottom or side to side in a single continuous motion, wiping the blade dry with a cloth after every stroke.
- Detail the edges immediately. A thin cloth wrapped around your finger catches the bead of water that collects along the frame after each squeegee pass.
- Buff dry with a clean microfiber cloth. Do this within a minute or two of squeegeeing, before the water has a chance to dry into water spots.
For double-hung windows, tilt the upper sash in before you start so you can reach the exterior face of the glass from inside. Casement windows crank open fully, giving you access to both sides without a ladder. Large picture windows are the trickiest since you can’t reach the top edge from a stepladder safely indoors. Use an extension pole with a microfiber sleeve instead of stretching.
Pro Tip: If your window has a screen, clean the glass with the screen removed. Trying to squeegee through a screen frame almost guarantees streaks along the edges where the blade can’t sit flat.
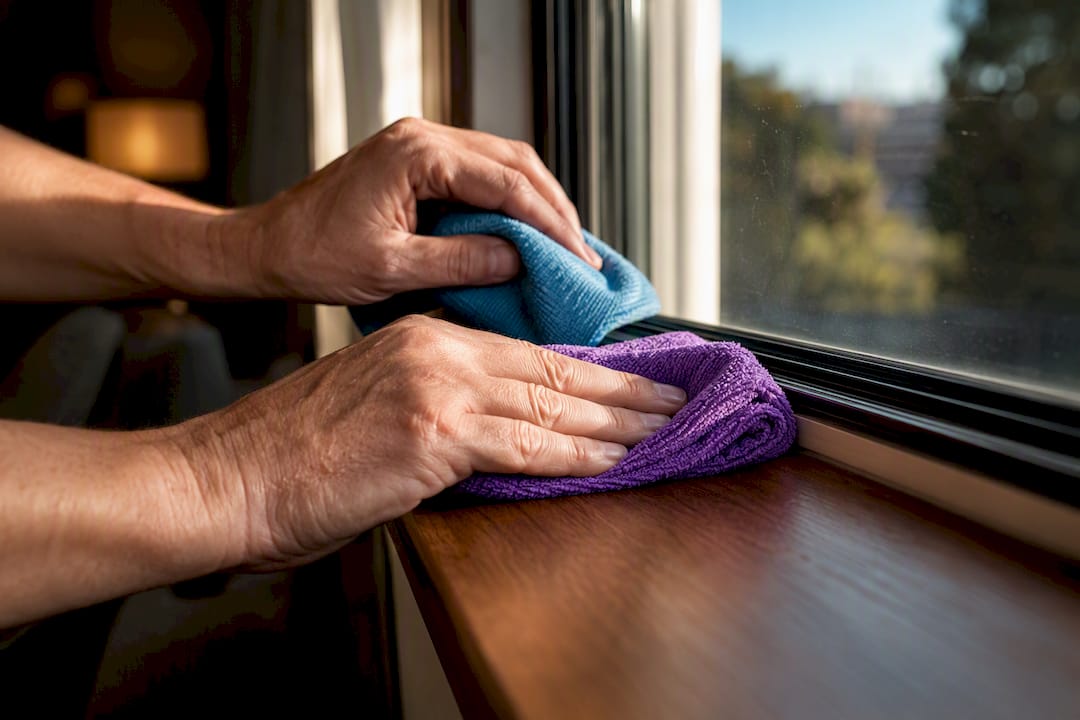
Buffing technique matters more than most people expect. A slightly damp cloth followed by a bone-dry one, used in small circular motions along the edges, catches the fine residue that a single wipe leaves behind. Skip newspaper. It’s a popular old trick, but modern inks smear on glass more than they used to, and it leaves a faint gray tint on lighter frames.
How Do You Clean Window Frames, Tracks, and Screens Without Damage?
Frames and tracks make or break the finished look. Clean glass surrounded by a grimy track just looks unfinished, and using the wrong cleaner on the frame material can cause lasting damage.
- Vinyl frames: warm water with a few drops of dish soap; avoid abrasive pads that dull the finish.
- Wood frames: a barely damp cloth only, dried immediately, since standing moisture can warp or discolor wood over time.
- Aluminum frames: mild soapy water works fine, but skip anything acidic or abrasive that could pit the surface.
- Tracks: vacuum loose debris first, then work a baking-soda paste into stuck-on grime with an old toothbrush.
- Corners: a toothpick or wooden skewer picks out packed dirt that brushes can’t reach.
- Screens: vacuum with an upholstery attachment for light dust, or unclip them and wash gently in a tub with mild detergent for heavier grime.
Let screens dry completely before reinstalling. Trapped moisture between the screen and frame invites mildew, especially in humid climates. Lay a towel down under the window while you work. Drips onto hardwood or carpet are the most common collateral damage in a DIY window session, and a $5 towel avoids the cleanup.
If your interior doors or trim need a matching refresh while you’re at it, these interior door cleaning tips cover finishes and materials in more depth than most window guides bother to.
How Do You Remove Stubborn Marks and Hard-Water Stains From Glass?
Grease, paint flecks, and mineral deposits each need a different approach, and using the wrong one wastes time or risks scratching the glass.
For grease and sticker residue, rubbing alcohol or a citrus-based adhesive remover on a cloth usually lifts it without much scrubbing. Test a small hidden area first, especially on tinted or coated glass. For dried paint flecks or old caulk on flat glass, a razor blade held at a low angle can shave it off cleanly, but this only works on flat panes, never on textured or curved glass, and any hesitation means it’s time to stop and call a professional instead.
Hard-water spots respond to a vinegar poultice: soak a cloth in full-strength vinegar, lay it over the spot for 10 to 15 minutes, then scrub gently and rinse. Commercial hard-water removers work too, but test them in a corner first since some contain mild abrasives.
- Grease or adhesive: rubbing alcohol or citrus-based remover
- Paint or caulk: razor blade at a low angle, flat glass only
- Hard water: vinegar poultice, 10 to 15 minutes, then rinse
Here’s the honest limit of DIY cleaning: hard-water deposits that sit long enough can etch into the glass surface itself, and etching is permanent. No amount of scrubbing removes damage that’s already below the surface. If a spot won’t budge after a poultice treatment and a second attempt, you’re likely looking at etching rather than residue, and that calls for a different conversation, not a stronger cleaner.
How Often Should You Clean Interior Windows?
Pella recommends a full cleaning at least twice a year, and most households do fine on that schedule for main living areas. Kitchens and bathrooms need more attention since grease splatter and steam residue build up faster than dust in a living room.
- Kitchens and bathrooms: quick spot check monthly
- Whole-home deep clean: twice yearly, spring and fall work well for most climates
- Coastal homes: add a rinse after salt-heavy storms, since airborne salt clings to glass and frames
- High-pollen seasons: a quick wipe every couple of weeks keeps pollen film from baking onto the glass in direct sun
A fast microfiber dry-wipe once a week catches dust before it bonds to the glass with humidity, the same logic as a doormat catching dirt before it tracks through the house. Five minutes weekly beats an hour of scrubbing twice a year, and it keeps the deep cleans genuinely quick instead of a battle with weeks of buildup.
What Do Pros Notice That Homeowners Miss?
Technicians see the same handful of mistakes on almost every residential visit. Over-wetting the glass is the biggest one. Excess liquid runs down into the frame and pools in the track, which is exactly where mildew and wood damage start. Using paper towels instead of microfiber is another. Paper towels shed lint and leave streaks that only show up once the sun hits the glass at an angle.
Skipping the frame entirely is the third common miss. A spotless pane surrounded by a dusty sill just draws attention to the sill.
Homeowners often assume every hard-water mark will come out with enough elbow grease. Sometimes it’s surface residue and a vinegar poultice handles it fine. Other times it’s actual etching in the glass, and no amount of scrubbing changes that. Knowing the difference before you spend an afternoon on it saves a lot of frustration.
- Over-wetting glass, which pools water in the track
- Using paper towels instead of microfiber
- Skipping frames and sills entirely
- Attacking hard-water haze with aggressive mechanical polishing, which risks scratching glass instead of clearing it
Protecting the surrounding room matters just as much as the glass. Professional technicians often lay drop cloths and work room by room to control drips, and that same habit is worth copying on a DIY job. For readers who want a closer look at what a full professional visit covers, the residential window cleaning process guide breaks down each step in more detail, and the window cleaning tools guide lists exactly what to keep on hand.
Are Eco-Friendly Window Cleaning Methods Worth Using?
Vinegar and water is already about as eco-friendly as glass cleaning gets. It’s biodegradable, cheap, and skips the volatile organic compounds found in a lot of bottled blue cleaners. That alone covers most of what an environmentally conscious homeowner needs without buying anything special.
If you want a step further, castile soap diluted in warm water works as a gentle alternative to dish soap for greasy windows, and it breaks down cleanly without leaving phosphates behind. Reusable microfiber cloths beat paper towels on more than just streaking. They cut down on landfill waste since a good cloth lasts hundreds of washes before it wears out.
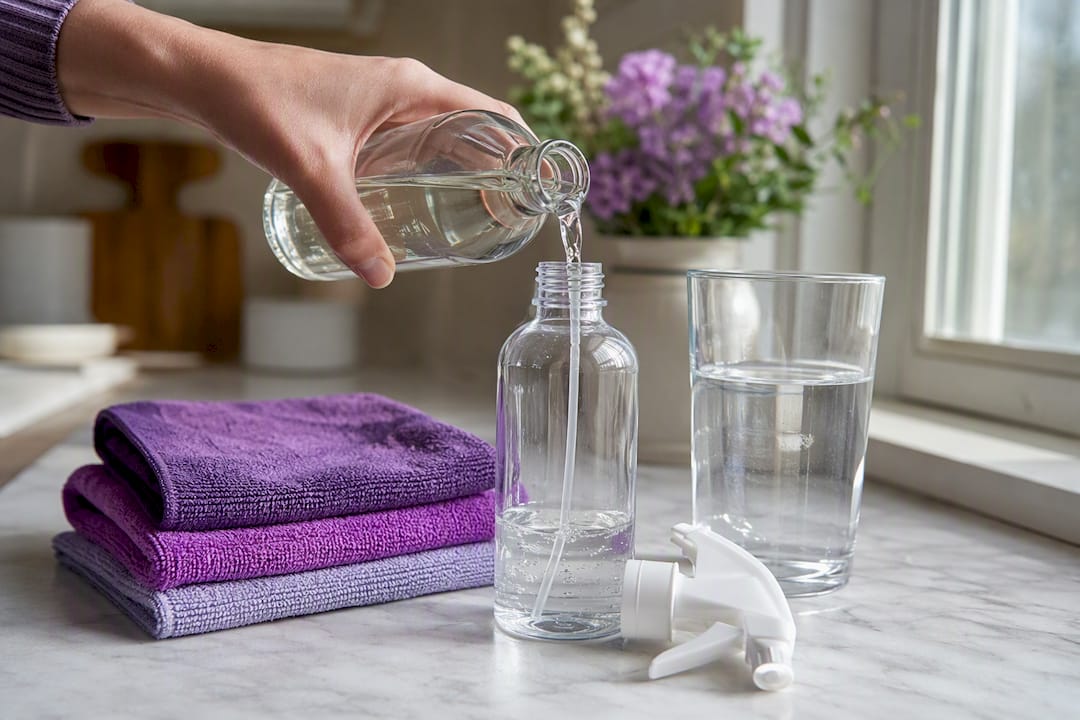
Where eco-friendly habits matter most is disposal and quantity, not just ingredients. Mixing only what you need in a spray bottle avoids dumping leftover chemical cleaner down the drain, and using a bucket-and-cloth method instead of an aerosol spray cuts down on propellant packaging entirely. None of this requires specialty green-labeled products at a premium price. The basics, vinegar, water, a reusable cloth, and a little dish soap, already check every box that matters for a lighter environmental footprint. Indoor cleanliness ties into broader home air quality too, and readers curious about that connection can look at how indoor environmental services fit into overall home upkeep beyond just glass.
A Note From Richard at E and R Cleaning Solutions
I’ve watched a lot of homeowners overcomplicate this job. The truth is the vinegar-and-microfiber routine outlined above handles 90 percent of what comes through a residential window, and it costs almost nothing to keep on hand.
If there’s one habit I’d ask every homeowner to adopt, it’s spraying the cloth instead of the glass. It sounds minor, but it’s the single biggest reason DIY jobs end up with drip marks on frames and sills that undo an otherwise clean pane.
The other 10 percent, real hard-water etching, failed seals, windows two stories up with no safe interior access, is where I’d rather you call someone than risk a fall or a scratched pane chasing a mark that cleaning can’t fix. If you’re ever unsure which category your windows fall into, our homeowner tool guide is a good place to start, and requesting a quote costs nothing if you’d rather just have it handled.
— Richard
When It’s Time to Call E and R Cleaning Solutions
E and R Cleaning Solutions exists for the windows that push past what a Saturday afternoon and a spray bottle can fix, whether that’s stubborn hard-water etching, second-story glass with no safe interior access, or a whole-house clean you’d rather not spend a weekend on.

As a family-run business with over five years of experience, we price every job with honest, upfront quotes rather than vague estimates that change once we show up. Homeowners who want to see exactly what a professional visit covers before booking can read the residential window cleaning process guide, which walks through the same detail-oriented approach our technicians bring to every home. If your windows also face exterior grime, pollen buildup, or hard-water spotting on the outside, the pressure window washing guide covers safe methods for glass a ladder shouldn’t touch. Ready to see what a professional visit costs for your home? Request a quote and we’ll give you a straight number, not a guess.
Sources
- 6 Steps to Clean Windows for a Streak-Free Finish | Pella
- How to Clean Windows the Right Way | How-To
- Interior Window Cleaning | Halo Window Cleaning