
Homeowners: 4 Step Window Frame Cleaning From a Family Pro
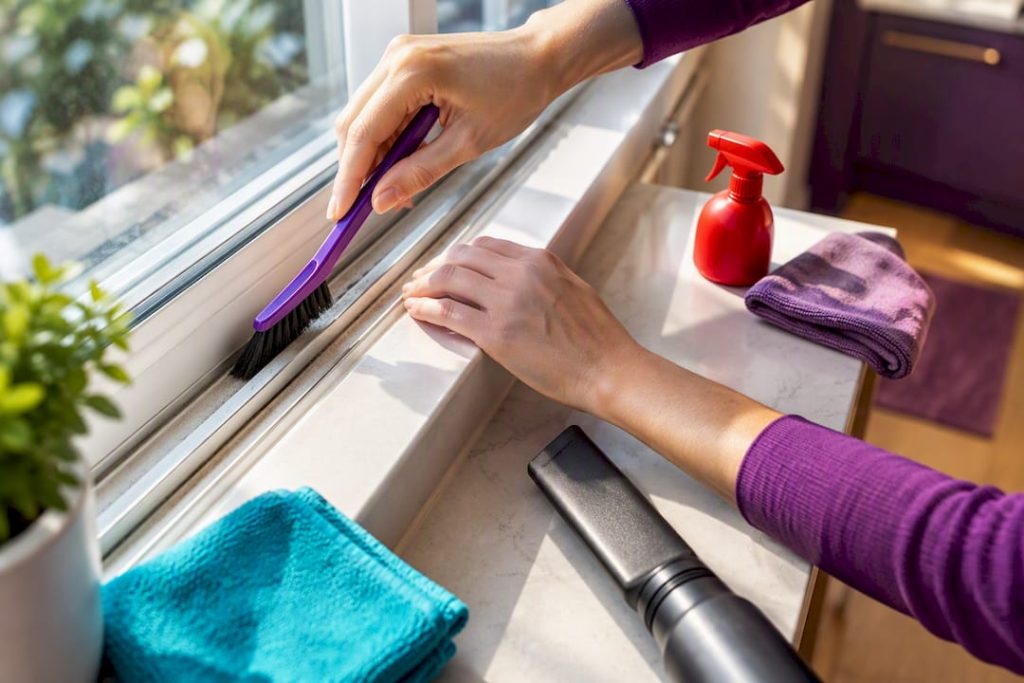
Vacuum out the loose debris first, then wash frames and tracks with mild soap or a vinegar solution matched to the material. If you see mold, treat it before anything else and wear gloves and goggles. Skip the pressure washer, spray solutions onto a cloth instead of the frame, and dry every surface immediately so water never sits in the corners or weep holes.
TL;DR:
- Using a vacuum with a crevice attachment before wet cleaning prevents mud and dust from becoming paste in wet grime.
- Mild soap, vinegar, baking soda, and rubbing alcohol are the best cleaners for most window frame materials, avoiding harsh chemicals or abrasives.
- Light mold or mildew should be treated with dampened solutions before scrubbing, and protective gear is crucial for heavy contamination.
- Drying surfaces immediately after cleaning and clearing weep holes prevents water pooling, which can cause frame damage over time.
- For stubborn buildup or hard-to-reach higher windows, professional cleaning is recommended, especially for persistent mold, mineral scale, or extensive debris.
Table of Contents
- Tools and Supplies for Window Frame Cleaning
- How to Clean Window Frames and Tracks Step by Step
- Cleaning Frames by Material: Vinyl, Wood, Aluminum, and Fiberglass
- How to Safely Remove Mold and Mildew From Window Frames
- Removing Stubborn Residue: Adhesive, Paint, Sap, and Hard Water Spots
- Preventing Water Damage While Cleaning Window Frames
- Cleaning Second-Story and Hard-to-Reach Window Frames
- What We See Most Often: Homeowner Mistakes and Pro Shortcuts
- When to Call E and R Cleaning Solutions Instead
- Sources
- FAQ
Tools and Supplies for Window Frame Cleaning
You don’t need a truckload of gear to get frames and tracks clean. Most of what works is already in your kitchen or garage, and the few purpose-built tools are cheap enough that buying them once pays for itself in saved time.
Dry tools go first, every time. A vacuum with a crevice attachment pulls dead bugs, dust, and grit out of tracks before anything gets wet, which matters because wet dirt turns into paste the second you introduce water. A small handheld broom or a paintbrush works as a backup when you don’t want to drag the vacuum upstairs. A soft-bristled brush, like an old toothbrush, handles the tight corners a rag can’t reach.
For the wet stage, keep it simple:
- Microfiber cloths for wiping and drying without leaving lint behind.
- Dish soap and warm water (a few drops per cup) for general grime on vinyl, aluminum, and painted wood.
- White vinegar solution (roughly equal parts vinegar and water) for mineral deposits and light mildew.
- Baking soda paste (baking soda mixed with a little water) for scrubbing without scratching.
- Rubbing alcohol on a cotton ball for spot-treating sticky residue.
- A plastic putty knife for scraping compacted dirt out of tracks without gouging the finish.
Beyond that, a few optional tools speed things up. A handheld steam cleaner can loosen months of grime in stubborn tracks, though it’s not equally friendly to every surface, so check compatibility before running it over painted wood. Telescoping poles and magnetic cleaners matter more for the glass itself, but they’re worth having if you’re tackling second-story windows the same day. For a fuller rundown of what’s worth owning versus renting, our guide to homeowner window cleaning tools breaks down the budget and pro-grade options side by side.
Pro Tip: Keep a dedicated small spray bottle just for vinegar solution. Mixing it in the same bottle you use for glass cleaner can leave a filmy residue that actually attracts more dust.
Skip anything marketed as an all-purpose “miracle” spray for tracks. Most are diluted versions of dish soap with fragrance added, and you’re paying triple for the same result you get from a $3 bottle under your sink.
How to Clean Window Frames and Tracks Step by Step
Budget some time per window for a routine clean, allowing more time for tracks that haven’t been cleaned recently. Difficulty is low. The only real skill involved is patience with the corners.
- Open or tilt the window and clear loose debris. Run the vacuum crevice tool along the entire track, then follow with a small broom for anything the vacuum missed. Sweeping or vacuuming first keeps you from smearing dust into mud once you add liquid. Lay a towel or drop cloth on the sill and floor below if you’re working near carpet or hardwood.
- Pre-treat greasy or caked-on spots. Dab dish soap directly onto stubborn buildup, or apply a thin layer of baking soda paste over grime that’s hardened. Let it sit for two to three minutes. This step matters most on kitchen and bathroom windows, where cooking grease or steam residue bonds to the track over time.
- Agitate with a brush and scrape what won’t budge. Work a soft-bristled brush or toothbrush into the corners and channels. For compacted dirt that the brush can’t lift, run a plastic putty knife along the track at a shallow angle. Never use a metal scraper on vinyl or painted aluminum. It will gouge the finish and give dirt a rougher surface to grip next time.
- Rinse and dry immediately. Spray your cleaning solution onto a cloth rather than the frame or glass itself. This keeps solvent from running into weep holes or pooling where it can seep behind the track. Wipe the whole channel, then go over it again with a dry microfiber cloth. Check the weep holes at the base of the track, usually small slots or drilled holes, and clear any residue so they can still drain water.
Sliding tracks versus double-hung sills need slightly different handling. Sliding tracks trap the most debris because they’re horizontal and exposed to falling dust and pollen constantly, so they usually need the full four-step process. Double-hung sills, especially the exterior side, deal more with rain residue and pollen than compacted grit, so a quick soap wipe and dry often gets them done in half the time.
A dry-first routine like this one solves the overwhelming majority of homeowner window complaints without needing steam or a professional visit. Our own tracking on interior window cleaning jobs shows that roughly 90% of the issues we see, dust buildup, sticky tracks, minor mildew spotting, resolve with exactly this vacuum, brush, spot-treat, wipe, dry sequence. It’s the same order every time because skipping the dry step is what turns a 10-minute job into a 30-minute scrubbing session.

For a walkthrough built specifically around timing this out on a busy Saturday, our step-by-step track cleaning guide lays out the same method with photos for each stage.
Cleaning Frames by Material: Vinyl, Wood, Aluminum, and Fiberglass
Not every frame reacts the same way to soap, vinegar, or a scrub brush. Using the wrong approach on the wrong material is how homeowners end up with clouded vinyl, warped wood, or worsened aluminum oxidation, none of which a second cleaning fixes.
- Vinyl and plastic: Mild soap and warm water handle nearly everything. Skip solvents, ammonia-based cleaners, and heavy abrasion, since they can dull the surface or leave it prone to yellowing over time.
- Wood: Use a barely damp cloth, never a soaked one, and dry the wood immediately after wiping. If paint is chipped or flaking, don’t scrub over it. Scrubbing lifts more paint and can expose bare wood to moisture, which is the fastest route to warping.
- Aluminum: Soap and water again does most of the work. Chalky white oxidation can be gently wiped away with a soft cloth, but avoid hard scrubbing, which can grind oxidized particles deeper into the surface instead of lifting them off.
- Fiberglass and painted surfaces: Test any cleaner in a small, hidden spot first. Manufacturer guidance varies by finish, and a solution safe for one painted surface may strip or discolor another.
Across every material, the instinct to reach for bleach or a strong all-purpose cleaner usually backfires. Harsh chemicals can degrade seals, dull factory finishes, or react badly with the coatings manufacturers apply to prevent oxidation. If you’re not sure what your frame is made of, a magnet test tells you fast: it won’t stick to aluminum or vinyl, but check your window’s original paperwork if you want to confirm the exact finish before using anything beyond soap and water.
How to Safely Remove Mold and Mildew From Window Frames
Mold gets treated first, before any other cleaning step, because scrubbing a dry mold patch launches spores into the air you’re standing in. Dampen the area with your cleaning solution before you touch it with a brush. Wet spores stay put; dry ones scatter.
Gear up before you start, especially if the mold covers more than a small patch:
- Nonvented goggles to keep spores out of your eyes.
- Extended-cuff gloves that cover your wrists, not just your palms.
- A respirator rated for mold spores if the contamination is heavy or covers a large section of track or sill.
Lowe’s guidance on window cleaning specifically calls out nonvented goggles and a respirator for anything beyond light surface mold, and that’s not overkill. Mold spores are small enough to bypass standard safety glasses entirely.
For treatment, soap and water or a vinegar solution clears light mildew in most cases. If you choose a bleach solution for heavier contamination, follow the product label exactly, and never mix bleach with ammonia or other cleaners. That combination produces toxic fumes, and it’s one of the most common accidental exposures reported in home cleaning incidents.
Pro Tip: Run a small fan pointed at the window for an hour after mold treatment. Faster drying time means less chance the spores that survived get a second shot at taking hold.
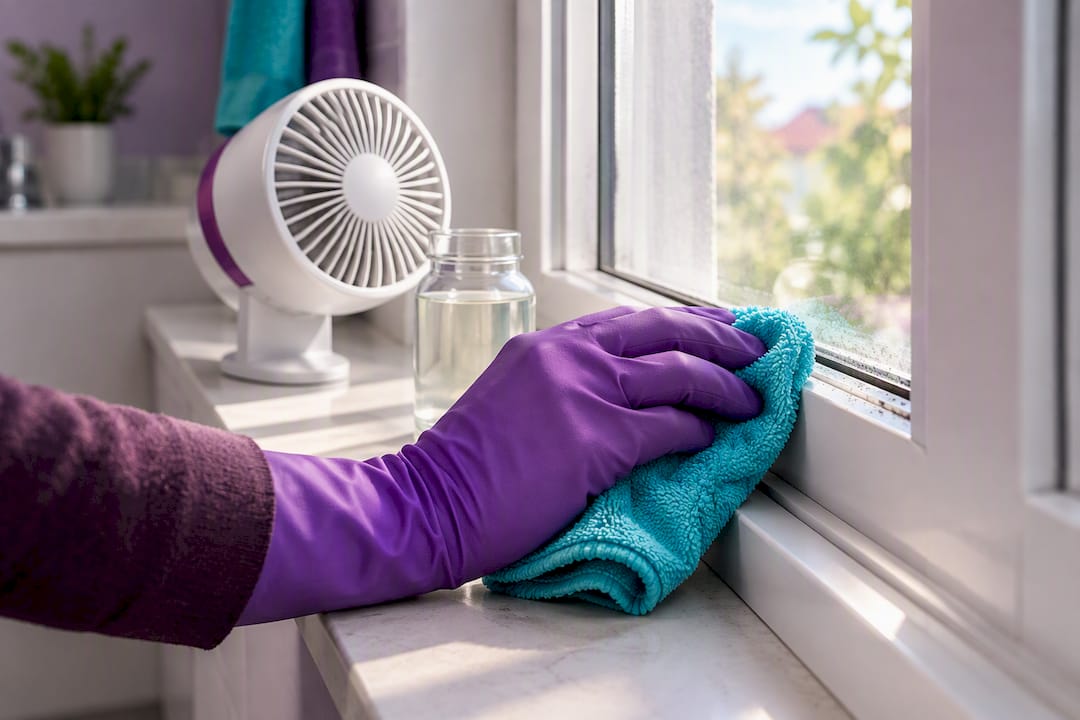
Some mold situations are past the DIY stage. Recurring black streaks that come back within weeks of cleaning, swollen or soft wood around the frame, or mold covering a wide section of the sill all point to moisture getting into the wall itself, not just sitting on the surface. Cleaning alone won’t fix that; it needs someone to find and stop the water source first.
Removing Stubborn Residue: Adhesive, Paint, Sap, and Hard Water Spots
Sticky residue and mineral scale respond to different treatments than everyday dust, and using the wrong one risks a permanent mark instead of a clean fix.
- Baking soda paste works as a mild abrasive on grime, sap, and light staining across most frame materials without scratching the finish.
- Rubbing alcohol on a cotton ball dissolves adhesive residue left behind by old weatherstripping tape or stickers, though testing a small spot first is worth the extra thirty seconds, especially on painted surfaces.
- CLR or mineral spirits can cut hard-water scale on some materials, but only when the manufacturer’s care guidance allows it. Rinse thoroughly afterward and never use either on painted wood, where they can strip or blotch the finish.
- Skip the pressure washer on frames entirely. If you’re pressure washing exterior glass elsewhere on the house, keep the frames out of the direct spray path, use the lowest PSI setting, a wide fan nozzle, and angle the spray away from seals and weep holes.
Hard-water spots deserve a little extra caution because they often look like they need aggressive scrubbing when they don’t. A vinegar solution left to sit for five minutes before wiping usually softens mineral deposits enough that a cloth lifts them without any scraping at all. Save CLR or mineral spirits for spots that genuinely won’t budge after that.
Preventing Water Damage While Cleaning Window Frames
Moisture control is where most DIY window cleaning goes wrong, and it’s rarely the cleaning itself that causes problems. It’s what happens to the water afterward.
- Use a damp cloth, never a soaking one, and follow every wipe with a dry cloth pass immediately.
- Lay a towel or drop cloth along the sill and floor before starting, particularly over hardwood or carpet.
- Avoid saturating weatherstripping. Excess moisture degrades the fuzzy seal over time and can leave you with a drafty window even after a perfect clean.
- Clear weep holes at the end of every session so any residual water has somewhere to drain instead of pooling against the frame.
Pooled water is the single biggest cause of frame rot and drywall staining tied to window cleaning, not the cleaning products themselves. A frame that gets properly dried after every wash will outlast one that’s cleaned less often but left damp.
How often you need to clean depends heavily on exposure. Coastal homes deal with salt residue that speeds up corrosion on aluminum frames, so monthly checks make sense. Urban homes near heavy traffic collect grime faster from exhaust particulates. High-pollen regions in spring often need biweekly attention just on the tracks, even if the glass itself stays reasonably clean in between.
Cleaning Second-Story and Hard-to-Reach Window Frames
Ground-based tools handle most upper-story windows without a ladder, and given how often ladder falls send homeowners to the emergency room, it’s worth trying these first.
- Telescoping poles with interchangeable mop, squeegee, or brush heads reach most second-story frames from the ground. Always check for overhead power lines before extending a metal pole anywhere near them.
- Water-fed pole systems run deionized water through a brush head, rinsing without soap residue and leaving a genuinely spot-free finish once the water evaporates.
- Magnetic cleaners use two paired panels, one inside and one outside, connected magnetically through the glass. They work well on single-pane glass but can struggle on thicker or double-pane units, and a tether is worth adding in case the magnetic connection breaks mid-clean.
- Call a professional when windows sit above what a pole can comfortably reach, when the approach requires standing on a roof or steep grade, or when the frame shows damage you can’t assess safely from the ground.
Cloudy days beat sunny ones for this work too. Direct sun speeds up evaporation before you can wipe the solution off cleanly, which is exactly how streaks form on hard-to-reach panes you can’t easily re-wipe.
What We See Most Often: Homeowner Mistakes and Pro Shortcuts
After years of walking up to windows other people have already tried to clean, a pattern shows up fast: most damage isn’t from neglect. It’s from over-effort in the wrong direction.
The two mistakes we see constantly are excess water and scrubbing where scrubbing doesn’t belong. Homeowners soak a cloth instead of dampening it, then walk away before drying the frame, and that’s how water finds its way behind a sill over months of repeat cleanings. The other habit is attacking chipped paint with a brush, thinking harder pressure equals cleaner results. It just removes more paint and exposes more bare wood.
The shortcuts that actually save time aren’t secret. Vacuum before you touch anything wet. Clear the weep holes every single time, not just when you remember. Dry immediately instead of letting a window air dry on its own.
Where we tell homeowners to stop and call in help: heavy hard-water scale that’s built up over years, exteriors that genuinely require ladder work on a two-story or taller home, and any mold that keeps returning within weeks of cleaning. Those situations usually mean the underlying problem isn’t dirt. It’s moisture, mineral buildup, or access, and no amount of scrubbing changes that equation.
— Richard
When to Call E and R Cleaning Solutions Instead
Some jobs are worth doing yourself on a Saturday morning. Others cost you more in time, ladders, and re-dos than a professional visit would ever run. E and R Cleaning Solutions exists for the second category: hard-water scale that’s been building for years, mold that keeps coming back no matter how carefully you treat it, second-story frames you’d rather not risk a ladder for, and sliding tracks so packed with years of debris that a toothbrush isn’t cutting it anymore.

As a family-run window cleaning and pressure washing business, E and R Cleaning Solutions builds every visit around the specific window or exterior in front of us, not a one-size script. That means an inspection first, a method matched to the frame material and the level of buildup, and careful drying and cleanup once the work is done, the same moisture-control habits this guide walks through, just handled by someone who does it daily. Whether it’s a full set of second-story frames or a driveway that needs the same careful, low-pressure approach we use near windows, you can request a quote through our site and get honest, custom pricing before anything gets scheduled.
Sources
- How to Clean Windows | Lowe’s
- Clean windows | The American Cleaning Institute
- How to clean windows | Pella
- Best way to clean high windows | Consumer Reports
- How to clean window tracks, screens, and frames | The Clean Tips
FAQ
How Do I Clean a Dirty Window Frame?
Start by vacuuming out loose dirt and debris with a crevice tool, then wash with mild soap and water or a diluted vinegar solution based on the frame material. Spray your cleaner onto a cloth rather than the frame itself, then dry the entire surface immediately to keep water from pooling in corners or weep holes.
What Kills Mold on Window Frames?
Soap and water or a vinegar solution handles most mildew, while a bleach solution used exactly per the product label works for heavier mold. Always dampen the area before scrubbing to keep spores from becoming airborne, and wear nonvented goggles, extended-cuff gloves, and a respirator for larger patches.
Is Vinegar and Dish Soap Good for Cleaning Window Frames?
Yes, a diluted vinegar solution and mild dish soap are two of the safest options for vinyl, aluminum, and painted wood frames. They cut through grime and light mineral deposits without the solvent damage that harsher all-purpose cleaners can cause on window finishes.
Do Window Cleaners Clean the Window Frames Too?
It depends on the service and what’s included in the visit, so it’s worth asking upfront rather than assuming. E and R Cleaning Solutions includes frame and track cleaning as part of a full window service, since leaving grimy tracks behind a freshly cleaned pane defeats the point of the job.
How Often Should I Clean My Window Frames?
Most homes do well with a full track and frame cleaning every one to three months, depending on exposure. Coastal homes dealing with salt residue and high-pollen regions in spring often need to clean more frequently, sometimes biweekly during peak pollen season, to keep tracks from caking up between deep cleans.