Homeowners: 5 Safe DIY Fixes to Remove Patio Moss, Keep It Away
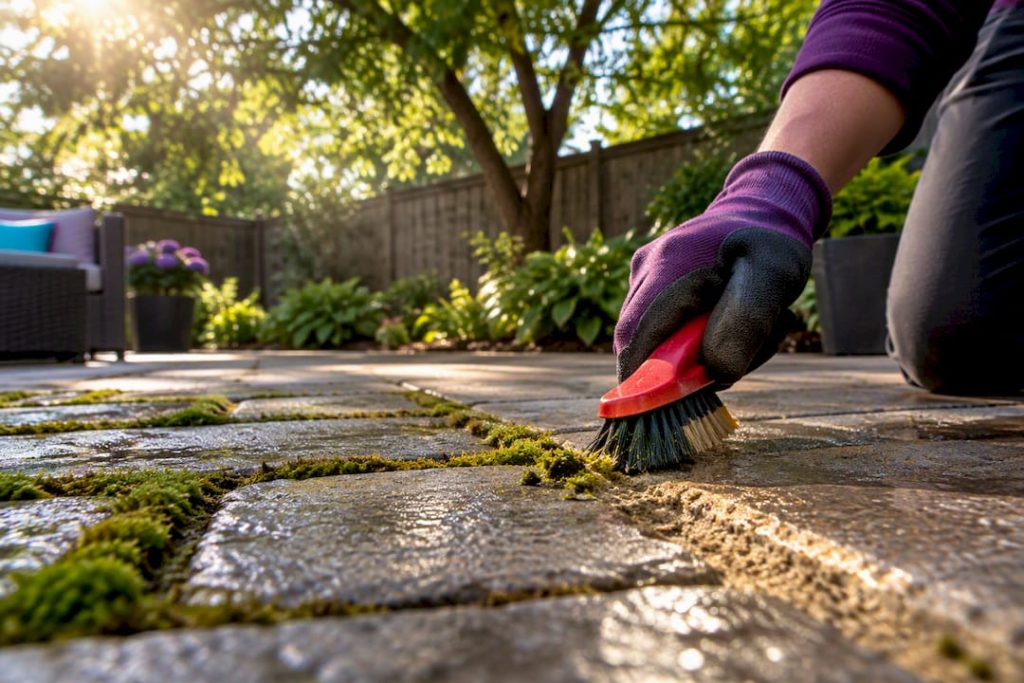
The fastest safe fix is to scrub the moss loose with a stiff brush or grout brush, clear away the debris, and let the surface dry out completely. That alone won’t hold, though: the single biggest factor in whether moss returns is whether your patio dries out within 24 hours after rain, so fixing shade and drainage matters more than any cleaner you buy.
TL;DR:
- Removing moss with scrubbing and household solutions works best when combined with fixing drainage issues and increasing sunlight exposure.
- Pressure washing is effective but must be done with proper technique and re-sanding to prevent future moss growth.
- Avoid high-concentration vinegar, muriatic acid, or corrosive cleaners that can damage the surface; always test any solution first.
- Long-term prevention relies on pruning trees, improving drainage, resealing, and using polymeric sand in the joints regularly.
- Large or persistent moss problems are best handled by professionals using specialized equipment and comprehensive repair services.
Table of Contents
- Why moss keeps showing up on your patio
- Practical DIY removal methods that actually work
- Pressure washing: technique matters more than power
- Prevention steps that stop moss from coming back
- Choosing the right method for your patio material
- When the job is bigger than a weekend project
- What pros catch that homeowners usually miss
- The part of moss removal most homeowners get backward
- Let E&R Cleaning Solutions handle the moss and the aftercare
- Sources
- FAQ
Why moss keeps showing up on your patio
Moss doesn’t need much to take hold: shade, moisture, and a little organic debris in the joints are enough. Patios tucked under trees or against a fence dry slowly, and once a patio stays damp for more than 24 hours after rain, it becomes a high risk zone for moss establishing itself in the cracks and crevices between pavers or stones.
Moss itself rarely damages the stone underneath, but it holds water against the surface, and that trapped moisture can soften and erode the sand in your joints over time. Repeated moss growth in the same spots often points to a drainage problem or a base that has shifted slightly, not just bad luck with the weather.
Practical DIY removal methods that actually work
Start with the least aggressive option and only step up if it doesn’t clear the moss. Most patios respond to manual scrubbing or a mild household mix, and you can save the stronger products for stubborn patches.
- Scrape and brush first. A stiff-bristled broom or a grout brush works moss loose from joints without damaging the surface; sweep the debris away and bag it rather than hosing it into a drain.
- Try a dish soap solution. Mix a few tablespoons of dish soap into a gallon of warm water, scrub it into the moss, let it sit for 10 to 15 minutes, then rinse.
- Use washing soda for tougher growth. A stronger mix of washing soda and warm water can loosen moss that dish soap won’t budge, but rinse thoroughly since it can affect nearby plants.
- Pour boiling water directly on small patches. This works well on isolated spots in joints where you don’t want to spray a wider area.
- Reach for a commercial moss and algae cleaner if needed. Read the label first, test on a small hidden area, and keep the product away from grass, flower beds, and any metal railings or hardware.
Avoid vinegar at high concentrations, muriatic acid, and anything the label flags as corrosive or likely to stain, since EPA product labels for moss and algae treatments specifically warn users to check surface suitability before applying, because some products will damage or discolor hard surfaces while others are formulated for lawns only and shouldn’t touch a patio at all according to the EPA product label guidance.
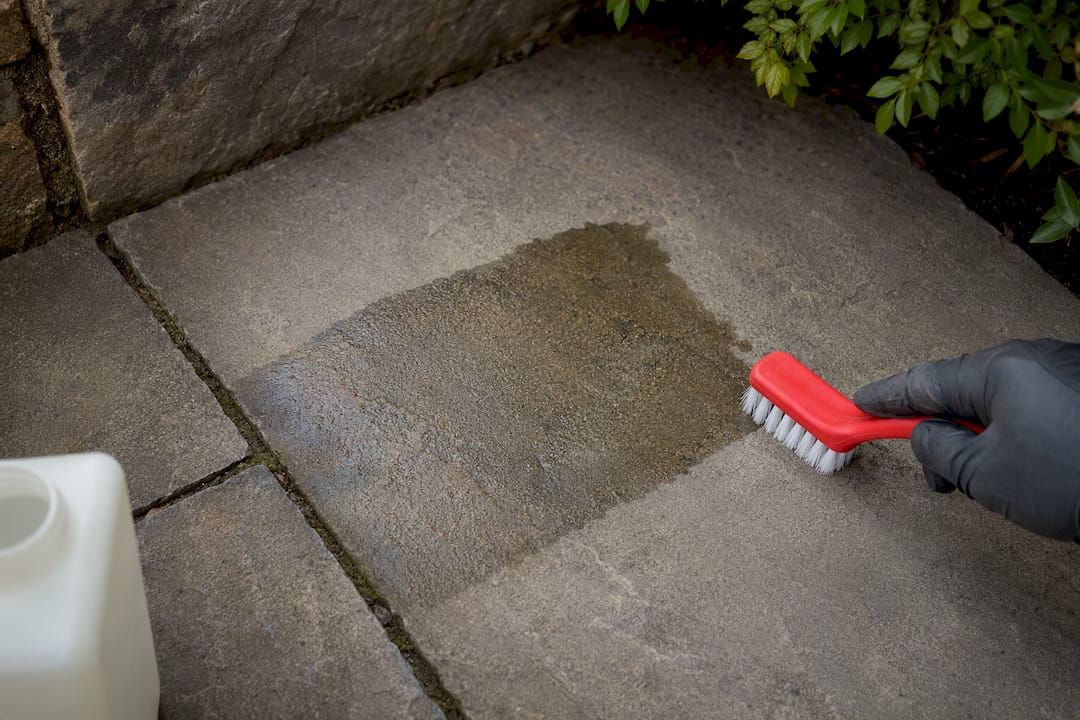
Pro Tip: Test any cleaner, homemade or commercial, on a small out-of-sight corner of your patio and wait 24 hours before treating the whole surface.
Pressure washing: technique matters more than power
Pressure washing strips moss off fast, but speed isn’t the whole story. Extension guidance notes that pressure washing is highly efficient at removing moss but is a surface treatment: unless you fix the shade and moisture that let moss grow in the first place, it comes back.
The technique you use determines whether the patio survives the cleaning intact.
- Use a patio-cleaner attachment rather than a direct spray nozzle. It distributes pressure evenly and avoids blasting sand out of the joints.
- Keep the pressure moderate and the nozzle at a safe distance and angle instead of aiming straight down into the cracks.
- Never hold the wand tight against paver joints. That’s where most homeowners strip out sand and create micro-fractures without realizing it.
- Re-sand the joints and consider resealing once the surface is dry.
Renting a pressure washer makes sense for a single small patio if you’re comfortable with the equipment. For a larger area, loose pavers, or a patio that’s already showing wear, hiring someone experienced with a proper walkway pressure washing process reduces the risk of doing more harm than good.
Prevention steps that stop moss from coming back
Cleaning moss off is the easy part. Keeping it off means changing the conditions that let it grow.
- Prune trees and shrubs overhanging the patio to let in more sunlight and improve airflow across the surface.
- Fix grading and drainage so water doesn’t pool or linger. Adding a channel drain or filling low spots keeps the patio from staying wet longer than 24 hours after rain.
- Sweep regularly, especially during fall and spring when leaves and debris build up fastest in joints and corners.
- Reseal every two to three years and use polymeric sand in the joints, since resealing and polymeric sand reduce where moss spores can settle and make future cleanups easier.
These fixes work together rather than as separate options. A patio that gets more sun but still pools water in one corner will grow moss right back in that corner, so drainage and light need to be addressed as a pair. Extension research on long-term moss management points to the same combination: more sunlight, better drainage, and regular debris removal are what actually change the outcome, not repeated chemical treatments alone.
Choosing the right method for your patio material
Not every surface handles cleaning the same way, so match the method to the material before you start.
- Concrete and pavers tolerate stronger cleaners reasonably well, but test a small area first and re-sand the joints after any aggressive cleaning session.
- Natural stone is more sensitive: skip acids and high-pressure spraying, and stick with a gentle brush and a mild cleaner instead.
- Wood and treated decking should be treated like decking, not stone. Use a soft-wash solution and low pressure to avoid splintering or stripping the finish.
- Sealers aren’t interchangeable across materials. Choose a breathable sealer for natural stone specifically, and check the product label before applying it to any surface.
When the job is bigger than a weekend project
Some moss problems are worth handing off. If moss covers a large section of the patio, pavers have started shifting or feel loose underfoot, or the moss keeps returning despite fixing the light and drainage yourself, it’s usually time to call a professional.
- Professionals typically use low-pressure soft-wash techniques and patio-cleaner attachments rather than a bare spray nozzle.
- A full-service visit often includes joint re-sanding, sealing, and correcting minor drainage issues, not just surface cleaning.
- Costs vary by patio size and condition; homeowners can expect pricing in the range of $80 to $500 for a patio pressure wash depending on square footage and how much prep work is needed.
- Before booking, ask about insurance, experience with your specific patio material, and what post-cleaning steps like sealing or re-sanding are included.
Property managers overseeing multiple units can expect similar per-square-foot pricing between $0.10 and $0.50 for patio cleaning jobs, which helps when budgeting across several properties.
What pros catch that homeowners usually miss
E&R Cleaning Solutions is a family-run business with over five years of experience in pressure washing and patio cleaning. The mistakes that show up most often on jobs are excessive pressure that strips joint sand, skipping resealing after a deep clean, and cleaning the moss without ever addressing the drainage that caused it. Fixing the surface without fixing the cause is the most common reason moss comes right back within a season.
The part of moss removal most homeowners get backward
Most advice on moss treats it as a cleaning problem, and it isn’t, really. It’s a moisture and light problem that happens to show up as green fuzz on your patio. Spraying a commercial killer or renting a pressure washer feels like progress because the moss disappears immediately, but if the joint stays shaded and damp, you’re back to scrubbing in a few months.
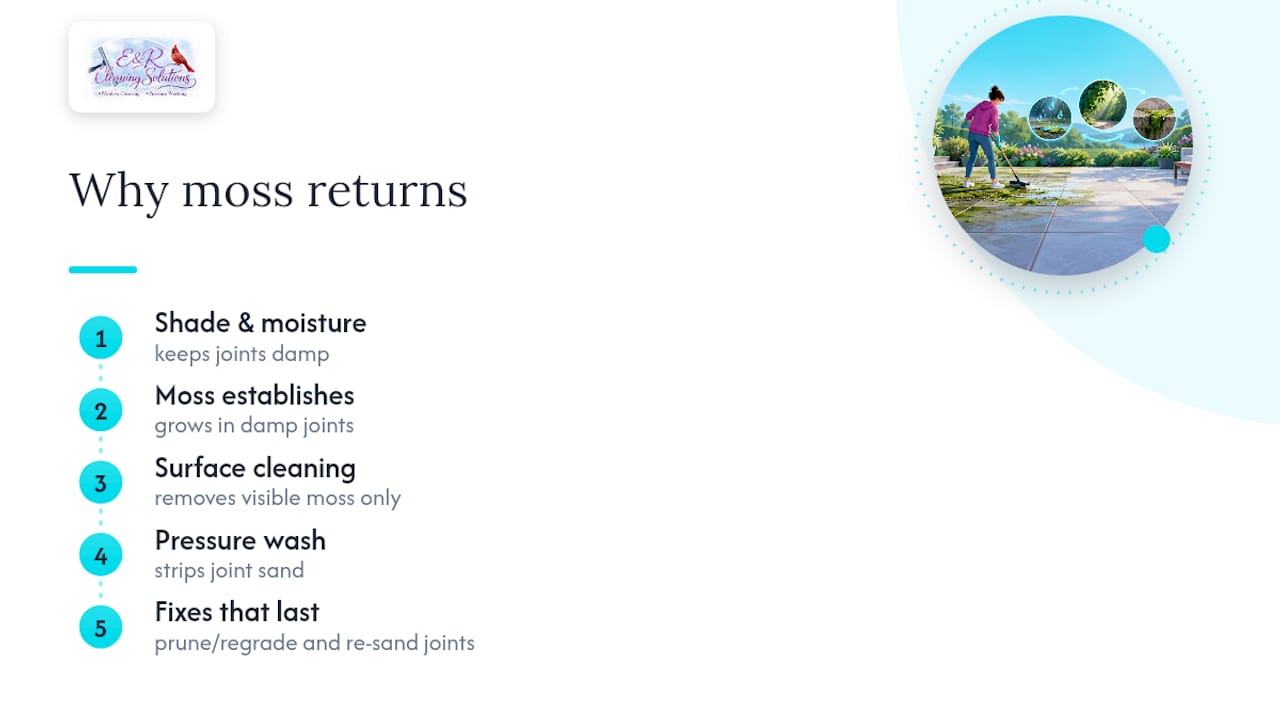
The conventional advice oversells chemical treatments and undersells pruning a tree branch or regrading a low spot. Those fixes are less satisfying because you don’t see instant results, but they’re the difference between a one-time cleanup and a recurring chore. If you only have time for one thing this season, skip the specialty cleaner and grab loppers or a shovel instead.
Where the DIY crowd consistently underestimates the job is joint sand. Every pressure wash strips some of it out, and skipping the re-sand step is why so many patios look clean for a month and then start shifting.
— Richard
Let E&R Cleaning Solutions handle the moss and the aftercare

Scrubbing moss off a patio yourself works, but getting the pressure, the attachment, and the re-sanding right takes practice most homeowners don’t have time to build. E&R Cleaning Solutions handles patio pressure washing with the right equipment for the surface, including joint re-sanding and sealer recommendations so the job holds up instead of needing a repeat cleanup next season. A typical visit includes an assessment of your patio material, a soft-wash or moderate-pressure clean depending on what the surface can handle, and honest guidance on whether resealing makes sense right now. Get a custom quote for your patio and skip the guesswork on pressure settings and joint sand.
Sources
- How can I get rid of moss on my pavement? | Oregon State University Extension
- Safer® Brand Moss and Algae Killer Concentrate — EPA product document
FAQ
What gets rid of moss on patios?
Scrubbing with a stiff brush and a dish soap or washing soda solution removes most moss, while a commercial hard-surface moss cleaner handles tougher growth. Whatever method you use, fixing the shade and drainage that let the moss grow is what keeps it from coming back.
Does vinegar and dish soap kill moss?
A dish soap and warm water solution loosens and kills surface moss effectively when scrubbed in and rinsed. Vinegar can help in mild cases, but high concentrations risk damaging joint materials and nearby plants, so it’s safer to test a small area first.
Do coffee grounds get rid of moss?
Coffee grounds aren’t a recognized moss treatment, and there’s no reliable evidence they remove established moss from a patio. Sticking with a scrub brush, a mild household cleaner, or a labeled commercial moss product is a more dependable approach.
What spray can I use to kill moss on my patio?
Look for an EPA-registered hard-surface moss and algae cleaner and check the product label before spraying, since some products are formulated for lawns only and will stain or damage stone or concrete. Always test a small hidden area first and rinse thoroughly after the recommended dwell time.
How often should I clean moss off my patio?
Check shaded or slow-draining areas every few months, especially after wet seasons, since patios that stay damp for more than 24 hours after rain are the ones most likely to need repeat cleaning. Pairing regular sweeping with the prevention steps above cuts down how often you need to treat it at all.